


Have you ever been curious whether Kubernetes can actually be run on personal computers? In this tutorial we will show you how to create a multi-container Pod in Minikube, set NGINX for complex Layer 7 load balancing and easily manage your services. Are you prepared to convert your own development atmosphere into Kubernetes’ strength? Let’s get started!
Here’s what we’ll cover:
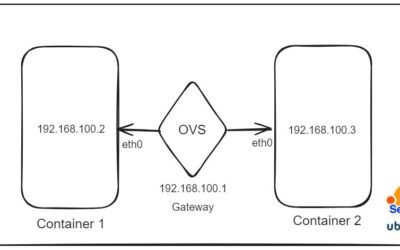
- Creating a Multi-Container Pod in Minikube: We’ll set up a Pod with three containers:
firewall-container,container-1, andcontainer-2. - Hiding Backend Services Behind a Firewall: We’ll route all traffic through
firewall-container, socontainer-1andcontainer-2stay hidden from direct access. - Setting Up Layer 7 (L7) Load Balancing with NGINX: We’ll configure NGINX in the
firewall-containerto act as a reverse proxy and balance traffic betweencontainer-1andcontainer-2.
Required Tools:
- Windows 10 PC
- Minikube – Install Minikube by following the instructions on the official Minikube installation page.
- Docker Desktop – Go to Docker’s website, download and install install Docker Desktop in order to manage containerized applications.
Make sure to follow the installation links and instructions for a smooth setup.
Make sure to follow the installation links and instructions for a smooth setup.
We’ll first bring up Minikube and deploy our pod:
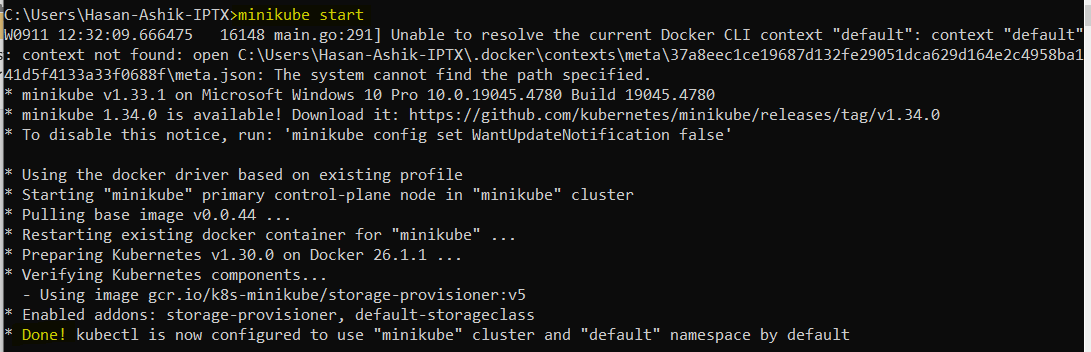
Start Minikube by running:
minikube start
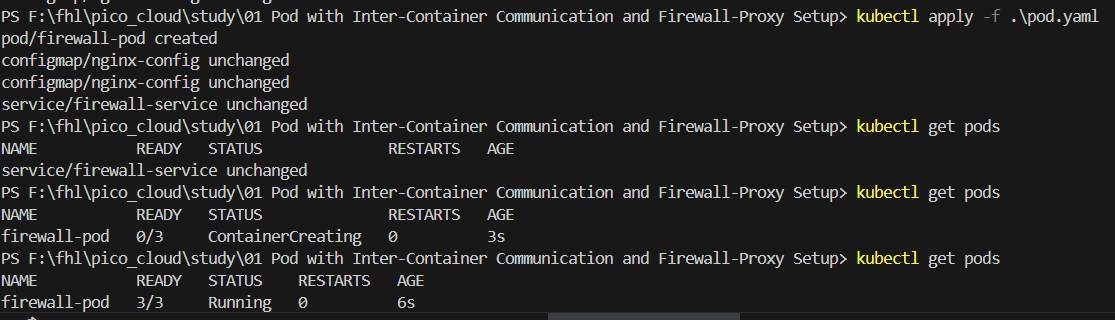
Once Minikube is up, navigate to the directory where your pod.yaml file is located, and apply the YAML configuration with:
kubectl apply -f .\pod.yaml
Our containers are up now. To allow for the proper routing between your local Windows environment and the Minikube cluster, a network tunnel must be created as follows:
minikube tunnel

To access easily the Kubernetes service from windows run:
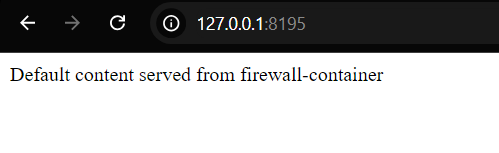
minikube service firewall-service
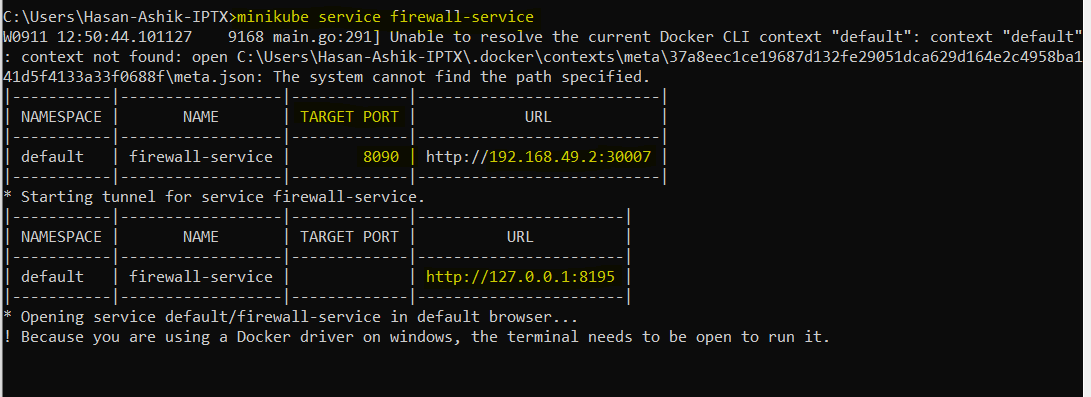
This command will open your default browser, where you can see a response from the firewall-container.
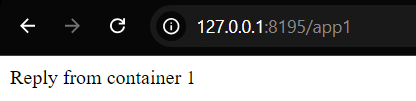
To access container-1 service: http://127.0.0.1:8195/app1
To access container-2 service: http://127.0.0.1:8195/app2

With services already deployed, let’s break down commands step-by-step for verifying the pod and container services.
Here’s a step-by-step guide for running the commands to manage the pod and services and observe their various parameters:
Step 1: Deploy the Pod
kubectl apply -f pod.yaml
This command applies the configuration file (pod.yaml) and creates the pod along with its containers.
Step 2: Verify Pod Status
kubectl get pods
This command shows the status of all running pods. You should see firewall-pod with 3/3 containers running.
Step 3: Check the Service
kubectl get services
kubectl get svc firewall-service
This command lists all services, including the firewall-service, which should show the external NodePort (30007) and internal ClusterIP.
Step 4: Check the Pod Details
kubectl describe pod firewall-pod
This command provides detailed information about the pod, including container statuses, IP addresses, and event logs.
Step 5: Access Containers within the Pod
To access a specific container:
kubectl exec -it firewall-pod –container container-1 — /bin/sh
Or to access other containers:
kubectl exec -it firewall-pod –container container-2 — /bin/sh
kubectl exec -it firewall-pod –container firewall-container — /bin/sh
Step 6: Test Requests Between Containers
Once inside the firewall-container, test the connection to the other containers:
# Access container-1
curl 127.0.0.1:8081
# Access container-2
curl 127.0.0.1:8082
You should see responses from container-1 and container-2.
Step 7: Access Service Externally
To find the Minikube IP:
minikube ip
Now access the service using the Minikube IP and the NodePort (30007):
http://<Minikube-IP>:30007/app1
http://<Minikube-IP>:30007/app2
Step 8: Check Logs
To view the logs from a specific container:
kubectl logs firewall-pod -c firewall-container
kubectl logs firewall-pod -c container-1
kubectl logs firewall-pod -c container-2
Step 9: Clean Up Resources
To delete the pod:
kubectl delete pod firewall-pod
To delete the service:
kubectl delete svc firewall-service
Shortcut to Get Minikube Service URL
minikube service firewall-service –url
This command provides the URL for accessing the service directly.
Step 10: Reapply Configuration
If you want to redeploy the pod:
kubectl apply -f pod.yaml
This YAML outlines a multi-container pod that includes three different types of containers which are: container-1 and container-2 that run NGINX with their individual configurations; and then there is firewall-container which serves as an NGINX reverse proxy. To forward requests from the backend containers to each other based on the respective path, the firewall-container uses a ConfigMap. The service makes the pod accessible from outside by means of NodePort at port 8090 thus routing incoming requests through the firewall-container. Also, the ConfigMap establishes an NGINX balance for Layer 7 (L7) traffic among the two backend services.


0 Comments