


In today’s dynamic landscape of containerized applications, efficient communication between containers is crucial for smooth operations and seamless data flow. OpenvSwitch (OVS) offers a powerful solution for orchestrating network connectivity between containers within a host environment. In this guide, we’ll walk through the process of setting up communication between containers using OpenvSwitch on Ubuntu Server.
- Install OpenvSwitch on your Ubuntu Server.
- Create a bridge interface with OpenvSwitch.
- Connect your containers to the OpenvSwitch bridge.
- Configure IP addresses and routing within the containers.
- Test the communication between containers.
Step 1: Install OpenvSwitch and docker
First things first, let’s ensure we have OpenvSwitch and Docker installed on our Ubuntu Server. Installing OpenvSwitch can be done effortlessly with a simple terminal command:
|
1 |
sudo apt−get −y install openvswitch−switch |
For Docker installation, refer to the official Docker documentation for instructions tailored to your Ubuntu Server version. https://docs.docker.com/engine/install/ubuntu/
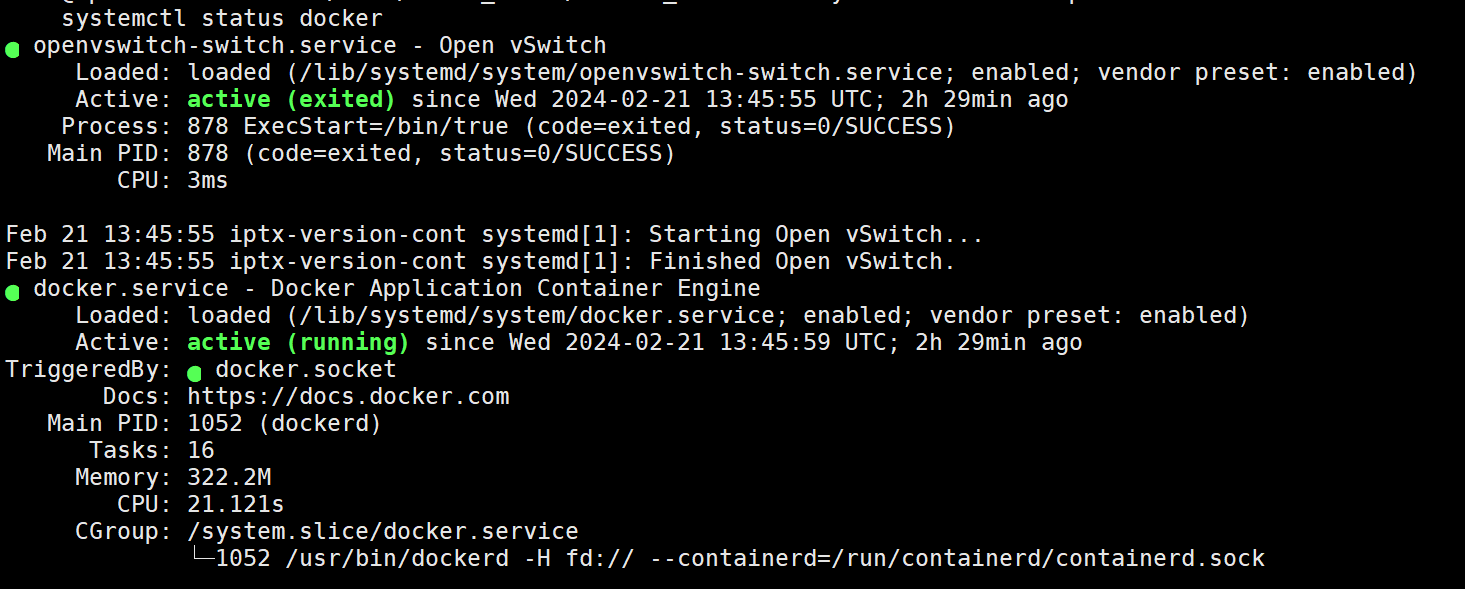
Once installed, verify that both OpenvSwitch and Docker are up and running:
|
1 2 |
systemctl status openvswitch-switch systemctl status docker |
Step 2: Create a bridge
To establish a network for our containers, we’ll create an OVS bridge.
|
1 2 |
sudo ovs-vsctl show sudo ovs-vsctl add-br ovs-br1 |

Next, configure the bridge interface with an internal IP address and verify that it has been added.
|
1 2 |
sudo ifconfig ovs-br1 192.168.100.1 netmask 255.255.255.0 up ifconfig ovs-br1 |

Step 3: Create the Docker containers and connect containers to the bridge
Now, let’s launch Docker containers and connect them to our OVS bridge. Assuming you have Docker installed and configured, follow these steps:
Make a Dockerfile
|
1 2 3 |
FROM alpine RUN apk add --no-cache iputils CMD ["sleep", "infinity"] |

Build the Docker image: docker build -t zamanimage .
Launch two containers:
|
1 2 |
sudo docker run -d --name=container1 --net=none zamanimage sudo docker run -d --name=container2 --net=none zamanimage |

Step 4: Configure IP addresses and routing within the containers:
Now, let’s configure IP addresses and routing within the containers and connect them to the OVS bridge:
|
1 2 |
sudo ovs-docker add-port ovs-br1 eth0 container1 --ipaddress=192.168.100.2/24 --gateway=192.168.100.1 sudo ovs-docker add-port ovs-br1 eth0 container2 --ipaddress=192.168.100.3/24 --gateway=192.168.100.1 |
Verify that the ports have been successfully added to the OVS bridge:
|
1 |
sudo ovs-vsctl list-ports ovs-br1 |

Step 5: Test the communication between containers
With everything set up, it’s time to test the communication between containers:
sudo docker exec container1 ping -c 3 192.168.100.3
sudo docker exec container2 ping -c 3 192.168.100.2

Clean up:
Once you’ve completed your testing, it’s good practice to clean up your environment:
|
1 2 3 4 5 |
docker stop container1 container2 docker rm container1 container2 sudo ovs-vsctl list-ports ovs-br1 sudo ovs-vsctl del-port ovs-br1 aa8e30f4af184_l sudo ovs-vsctl del-port ovs-br1 ad2fd316abc24_l |

With these steps, you’ve successfully established communication between containers using OpenvSwitch. This setup provides a flexible and efficient way to manage container networking, facilitating seamless interaction between different components of your distributed applications.


0 Comments